Rather than make you wait, I thought I would go ahead and share the second part of Cennetta's clutch tutorial. In today's post, she shows you how to step up the basic clutch by adding a great looking strap and pockets. Before we get to the tutorial, let's take a look at a little more inspiration.
Just a little shaping and the top zipper really gives the bag a very special look. Or add a strap to the back of the clutch and make a wrap around closure.
When it comes to straps, use a ring or maybe even a special bracelet.


Clutch Bag Tutorial Part 2
For this tutorial, I'd like to show you how to add an inside and outside pocket and a strap to the foldover clutch.
To make you will need the following supplies:
Faux Fur
Faux Leather
Lining
Pellon Fusible Felt
Lightweight Interfacing
12" Zipper
1 Clasp and 1 Rivet
Leather Sewing Machine Needle (90/14)
Binder and paper clips
Teflon Foot or Wax Paper
Pattern Tracing Paper and Pencil
Thread and other basic sewing tools
Step 1 - Drafting the Pattern:
Base of the Purse : 14 1/2" X 12 1/2"
Side Strap 18" X 2"
Tab 1 3/4" X 1"
Inside Pocket 10" X 6 1/2"
Outside Pocket 12 1/2" X 6 1/2"

Step 2 -Cut
- 2 Purse Linings
- 1 Faux Fur Purse
- 1 Faux Leather Purse
- 1 Faux Leather
- 1 Lining Outside Pocket
- 1 Lining
- 1 Interfacing Inside Pocket
- 1 Faux Leather Tab
- 1 Faux Leather Strap

Step 2 - Fuse felt to wrong side of the faux fur to add body to it. Fuse Interfacing to inside lining. The faux leather used in the illustration already has a felt backing.
Step 3 - For outside pocket, with right side together and raw edges even, stitch one of the long sides together. Press seam allowance toward the lining. Understitch. Finger press the edge along the faux leather and lining. Use clips or binders to attach to outside pocket to lower edge of the faux fur. baste in place.
Step 4 - For inside pocket, with right sides together fold pocket in half having raw edges even. Stitch side and lower edges together leaving a opening for turning. Trim seams and corners. Turn pocket right side out; press.
On outside, center pocket at lower section of the lining and pin having the opening at the bottom. Stitch the sides and lower edges of the pocket.
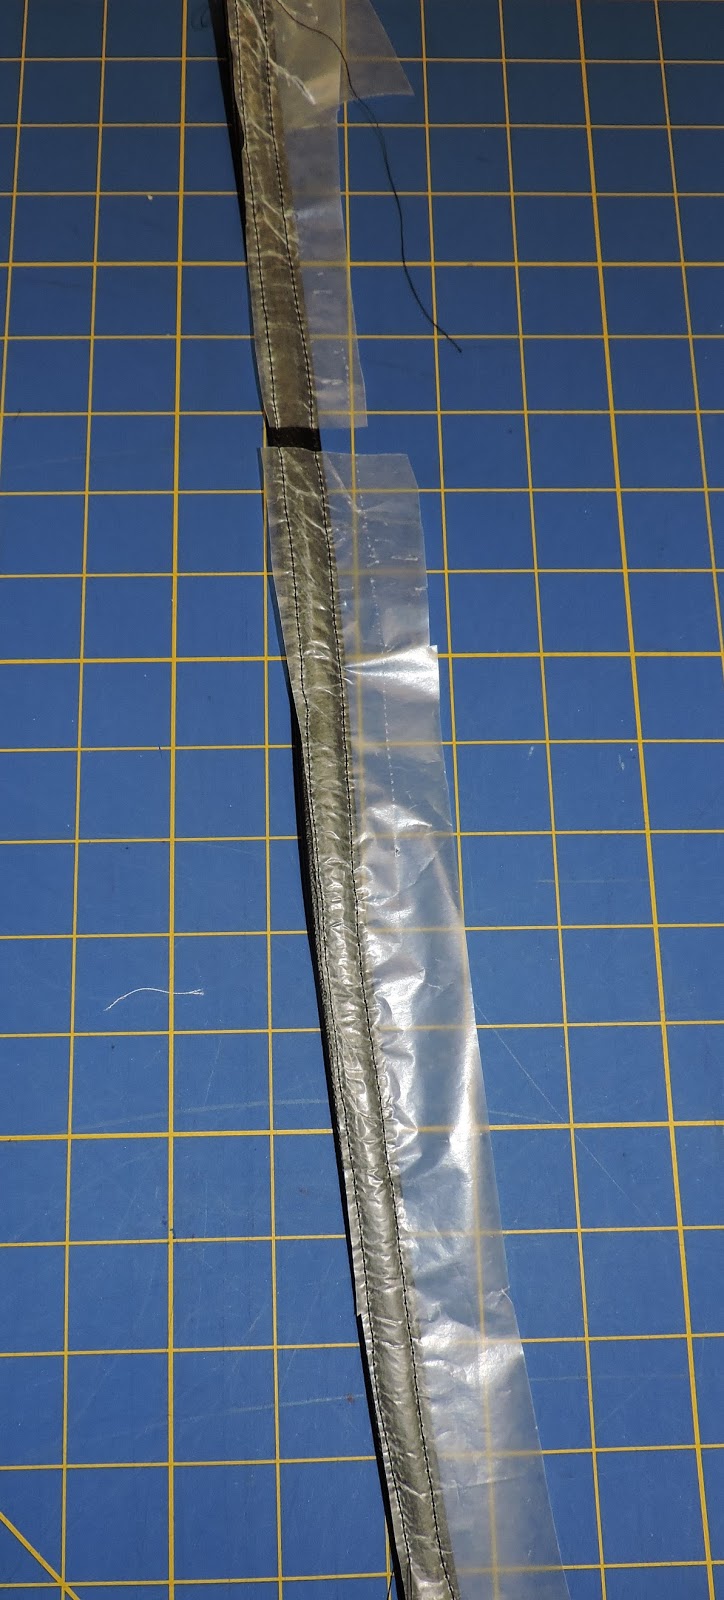
Step 5 - Fold strap in half lengthwise having wrong sides together. Turn in raw edges. Attach clips to hold in place.

Step 5b - Use a teflon foot to stitch along the opened edge of the strap. If you do not have one, like me, use wax paper to cover the strap to achieve good stitching results. Follow the same instructions for the tab.

Step 6 - Add tab 7" from the top of the purse on the left side of the faux leather purse. The edges should be 1/2 cm from the raw edge of the purse. Stitch in place. The tab should create a small loop where you can attach a clasp.
Step 8 - Attaching the lining. With right sides together, pin lining to one edge of the bag, having the raw edges even. Stitch 1/4" from upper edge through all layers. Repeat for the other side of the bag making sure you do not stitching through the other side of the bag.
Step 9 - To keep the lining away from the path of the zipper, understitch the lining to the zipper tape to hold it in place.
Step 10 - Press zipper teeth toward bag front and back lining
sections. The bag section should be facing each other as well as the
lining. Open zipper.
Step 11 - Push lining into bag and close zipper. Mold into place with fingers.
Step 12 - Fold the strap in half leaving one end 1 1/2" longer to fold over the raw edge. To secure, stitch through all layers of the strap or insert a rivet(the best choice for a polished look). I took my strap to a local shoe repair shop, where they stitched the strap together and inserted a rivet.


That's it!
Happy Sewing!
Cennetta
Thanks so much Cennetta for a very inspiring tutorial!
If by chance you missed Part 1, you can find it HERE.
Have fun making clutches!!!
Be sure to check out Cennetta's blog, http://themahoganystylist.blogspot.com/ She's just full of inspiring ideas :)


Beautiful bags. This would make a stunning gift. Thanks again Rhonda and Cenneta for the tutorials. Xx
ReplyDeleteMy pleasure, Mother of Reinvention. I'm making a few more for Christmas gifts.
DeleteWhat a great bag! Thanks to both of you!
ReplyDeleteLinda T. It's always fun to share sewing ideas with friends. ;-)
Deletethese are pretty!!! wish i had the patience to sew
ReplyDeleteThanks, Ronlet Lovejoy. Try it, you might like it.
DeleteSo cute! This is going to be a project I plan on doing as soon as I'm not traveling as much. Can think of so many possibilities.
ReplyDeleteThanks, Remembering OZ. This simple pattern has endless possibilities.
DeleteHow perfect! I've been ogling similar purses in stores for some time saying to myself that I could surely make one (or several). And now I don't even have to figure out the particulars - just follow the instructions. Thank-you! Now - to find some time...
ReplyDeleteYou are welcomed, Irene.
DeleteWould love to know the source for those snazzy zippers!
ReplyDeleteThanks, Jan Crews.
DeleteThanks, Vicki.
ReplyDeleteThanks again, Rhonda, for an opportunity to be figured on your blog.
ReplyDelete