f
Showing posts with label free bag pattern. Show all posts

Friday, November 9, 2018

Free For All, Free Patterns For You and Others!

We are getting our very first snow here in Chicago. Nothing to write home about, just a wet, rain like snow. But, what's in the air is so very pretty. Winter is definitely here!

A few days ago, one of the trees that is out in front of my house lost all of its leaves in what seemed like a few hours. Once the leaves were on the ground, the tree revealed a little secret it had been hiding, a lovely hornet's nest. Call me crazy, but I have always wanted a hornet's nest. To me, they are an amazing piece of artwork.

So, my husband helped me pull out a ladder, and I climbed up and snipped my little prize out of the tree. 


I think it is just amazing!


While I can be crazy, I'm not stupid(well, sometimes). I put the nest inside a plastic garbage bag, tied the top, and it is out in the garage awaiting our first hard freeze before I bring it indoors. Hopefully, all will be fine and I won't end up with a very angry hornet in my house ;)

Thanks so much to all of you who purchased my design from Spoonflower. I am so very honored:) I also purchased a few for gifts, and mine arrived yesterday. So excited!!! Something I never would have dreamed I would be able to do.


With the holidays coming up, I thought I would share a few of the free patterns that I've found that would be fun to wear, or would make great gifts.

I really love this caftan pattern from Sew Daily. It is a graded pattern, so a number of sizes are available. You will need to register on the site to download the pattern. You can find the pattern HERE. It can be made without the tie for a looser fit. 


If you are looking for something lovely to give to a sewing friend, or yourself :), this pattern for a sewing machine and serger cover from Closet Case Patterns is free and fabulous. You can download it HERE.


Jumpsuits are all the rage! While this is a sleeveless jumpsuit, it would pair so easily with a t-shirt, or turtleneck and move right on into winter. This free pattern from In The Folds can be found HERE


Pattern Union gives you all the directions you will need to draft out this super cute, and easy to make dress. It's free with the code MAISIE. You can find it HERE. To draft out the pattern, you will only need 2 measurements, hip and skirt length. So, this is a great opportunity to make something for an out of town friend or family member. The only hard part is getting them to give you their hip measurement!!!


Another fun and very versatile piece from Pattern Union is the Phoebe Jumpsuit. It's free with code PhoebeFreebie, and you can find the pattern HERE. Pop over to the Pattern Union Instagram site to see all the fun hacks they have done with the pattern. With 1 hack, rather than making it a halter, they cut 2 backs and did shoulder ties. Again, that hack takes it from summer to winter paired with a t-shirt or turtleneck.  


A little clutch always makes a lovely gift. The pleated clutch below is from I Think Sew's book, Bags-The Modern Classics. You can find the free, downloadable pattern HERE.   


And last but not least, I love this free turtleneck pattern from Tessuti Fabrics. You can find their Monroe Turtleneck pattern HERE


All of the patterns are quite easy to make, and should go together quickly. Now, if I could just give you a link for some free time!!! ;)) 
Rhonda



Share this PostPin ThisShare on TumblrShare on Google PlusEmail This

Wednesday, May 31, 2017

The Wednesday Showcase/Table Turned

Gifts come in all sorts of ways! 

Last summer I injured my back and I have suffered with it since. I initially went to a rehab facility that combines chiropractic work with exercise. Rather than get better, it got worse! My doctor suggested that I concentrate on acupuncture and massage and allow the area time to heal, which I did, but of course I skied and hiked throughout the winter. The acupuncture and massage have helped, but the pain is persistent. Some days are fairly good, and some days rather terrible, but either way, the pain is never completely gone. So I decided to see an orthopedic doctor who specializes in back pain. As it turns out, it's caused from an old injury to my spine. I fell down the stairs about 10 years ago and really hurt my back. It healed though and I thought nothing of it until the doctor told me that the pain is caused from an old injury. He feels that the correct type of rehab exercises will help to strengthen the muscles around the area and I will once again be pain free. Fingers crossed :)  

I had a rotten headache yesterday, the kind that just won't go away, and of course, I had a rehab appointment. Off I went, feeling a bit sorry for myself. While waiting for my therapist, I opened my mail, and there was a little gift.

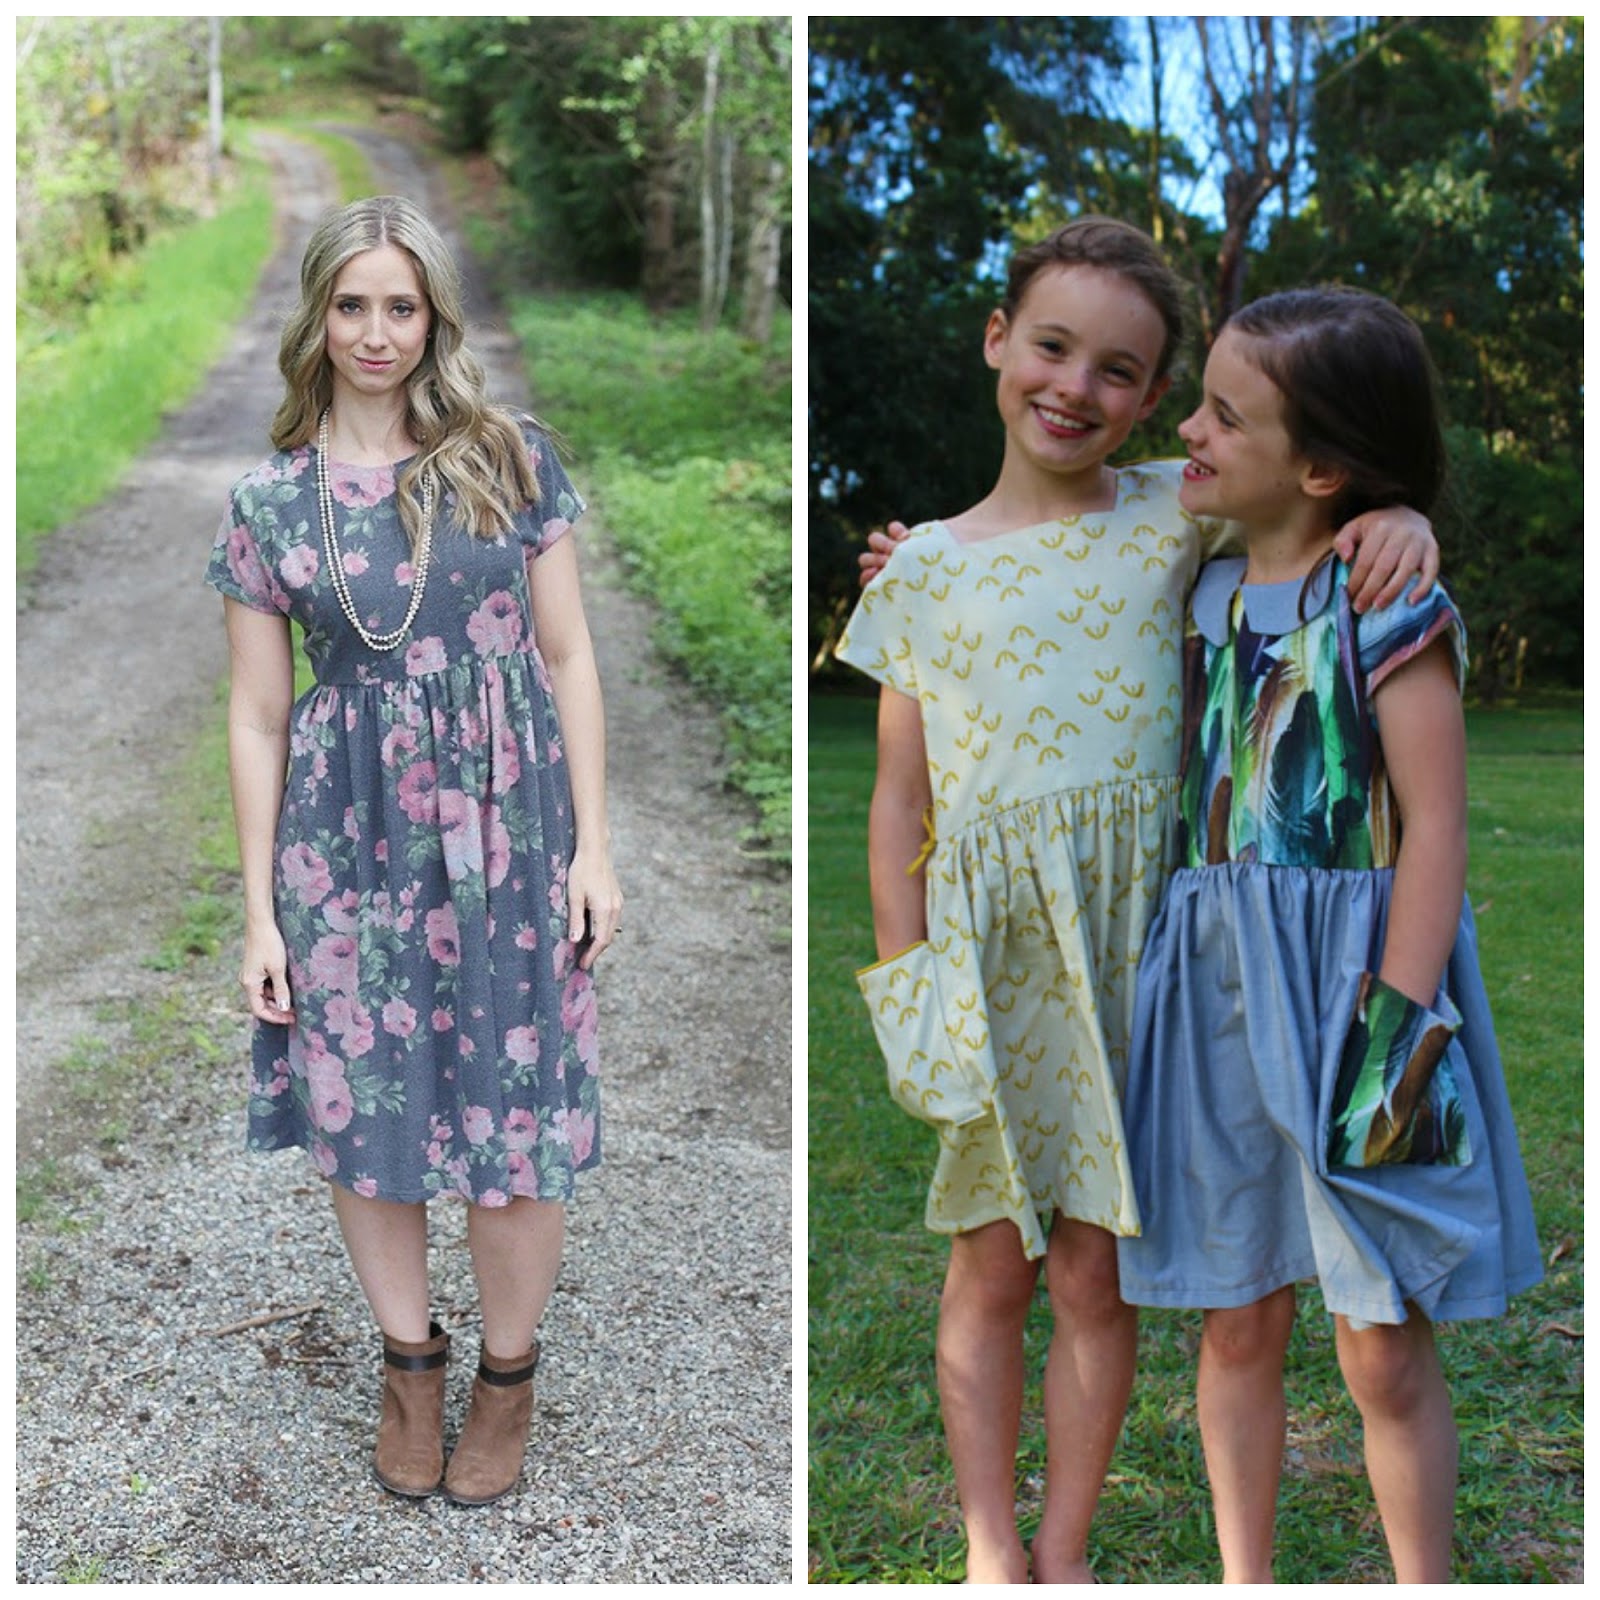
Just a few days ago, I needed to quickly throw on something that looked halfway decent, so I pulled out this little dress that I did for a Fabulous Free Pattern Friday post, The Magic Rectangle Dress.


As I pulled it on, the thought came to me that I should make another and revisit the post as I really enjoy wearing this dress. Perfect for summer. 

The message I received was from Maria Geer of Stitch and Sew. She loves to sew and her blog is all about sharing sewing tips, new products, and continuing to build this wonderful sewing community that we all love. 

Her most recent blog post is entitled, My Top 100 Free Sewing Patterns, and low and behold...my little Magic Rectangle Dress made it as one of her 100 favorite patterns!!!! Wow, now talk about telepathy ;)

I have gone through her list and it's wonderful. There are patterns for holidays, cute pieces to make for children, toys, quilts, bags, clothing for women, just so much!

Here are a few of my favorites;

Love this super cute whale. Great for a baby shower.


Such a fun hat for summer or winter.


Summer perfect dresses for big girls and little girls.


A fun faux fur vest for when cooler temps roll around once again.


A great carry-all bag with a secure closure. 


We can never have enough cute tees for summer.


Now this is just a small sample of the patterns that Maria has shared, so pop over, check out her POST. I think you'll find lots of fun ideas.

And a special thank you to Maria for featuring one of my pieces. Such a wonderful surprise!!!


Share this PostPin ThisShare on TumblrShare on Google PlusEmail This

Friday, October 28, 2016

Fabulous Free Pattern Friday/Toiletry and Lipstick Bag

The first of this month, I had the wonderful opportunity to teach a bag making class for the Peoria, IL American Sewing Guild chapter. It was a packed day, but everyone left with a finished tote bag. I named the large bag, The Parisian Travel and Market Bag. The companion bags are a toiletry bag and a lipstick bag. Now the smaller bag can be used for anything. It's especially great for small items...like lipstick, cotton pads, or anything that could possibly get lost in a larger bag. 


The toiletry bag has a front zippered pocket, great for combs, nail files, anything that's rather flat.


Both bags have a gusset that allows for plenty of storage room.


October is my official blogging anniversary. Now, truth be told, I did 1 blog post and then went months before I ever posted again. That was in 2009, so 7 years ago. Amazing!!! In reality, I've been blogging on a regular basis since 2012. But since October is the official anniversary, I thought I would do a little something special today and give you the patterns for the toiletry bag as well as the lipstick bag. Nice :) You can find the Lipstick Bag and Toiletry Bag patterns HERE.

In the true spirit of Fabulous Free Pattern Friday, I am going to make you draft the gusset for the toiletry bag. You will need to draw a rectangle that is 4" x 27 1/2".  

For the lipstick bag, you will need a 7" dress weight zipper.

For the toiletry bag, you will need a 9", and a 14" dress weight zipper.

The bags require 3 1/2 yards of piping. I like to make my piping from cording that can be purchased in the home dec section.

All exterior pieces of the bag are interfaced with a woven cotton interfacing, including the pocket pieces. The lining is not interfaced. I light to use a medium weight home dec fabric. Waverly fabrics are my favorites. 

Begin with the front toiletry bag pocket. Press in a 1/2" seam allowance on both straight edges of the top and bottom pocket. Align the 9" zipper so that there is 3/8" seam allowance on either end of the zipper.   


Edge stitch the zipper in place.


Baste the zippered pocket to the front of the bag.


Sew the exterior gusset to the lining gusset at either end with a 3/8" seam allowance.  
From this point on, all seam allowances will be 3/8". Turn the gusset the right side, press and edge stitch the ends. Baste the side seams together.


Make the piping. Cut 3 1/2 yards of piping strips 1 1/2" wide. Sew strips together as you see below.


Once sewn, wrap the fabric around the cording and stitch together with a zipper foot.


Sew the cording to the front and back pocket panels, beginning at the bottom of the panel. Leave approximately 2" free. 


Open up 1 end of the cording and reveal the cord. Lay the opposite cord next to the exposed cord and cut away so that the cording from the opposite end will lay inside the bias strip.Be sure to fold back the raw edge. Wrap the fabric around the cording and stitch down.


Transfer the small dot from the pattern onto the front and back. The zipper will be sewn from 1 dot to the other.


Fold back the seam allowance of the piping and align the end of the zipper with the dot at 1 end. The teeth of the zipper should be even with the edge of the piping. 


Fold back the end of the zipper tape prior to sewing.


Stitch the zipper to the bag by sewing from 1 dot to the other and stitching in the ditch between the bag and the piping.


As you can see, the zipper will be longer than the top edge of the bag.


Now install the gusset. Transfer the larger dot to the bag. The gusset will be sewn from large dot to large dot. 


To sew the lining to the bag, simply match the right sides together of first the front.Stitch the lining from small dot to small dot, leaving the top edge of the lining open. Once sewn, turn right side out. Repeat for the back side of the bag.


Hand stitch the top of the lining to the zipper. 


In order to have the gusset fold into the bag when the bag is closed, the gusset will need to be stitched. 


Simply fold the gusset with right sides together and stitch down from the top edge 2 1/2".


To finish off the end of the zipper, sew a square tab to the end. The end of the zipper can be left outside the bag, or tucked inside.


The lipstick bag is sewn together the same as the toiletry bag, minus the exterior zippered pocket. When stitching down the gusset, stitch it down 1" rather than the 2 1/2" as was down with the toiletry bag. 


The bags are finished and ready for an adventure!


The companion bag will be available for purchase in a few weeks. It features a top zipper as well as an interior zippered pocket. What I especially like about the bag is the zippered slip pocket. The pocket slides over the handle of a rolling suitcase. With the zipper at the top, you have a safe and secure place to stash your ticket as well as your I.D.


Hope you enjoy making the small bags!

Let's see what the next 7 years bring :) 
Rhonda


Share this PostPin ThisShare on TumblrShare on Google PlusEmail This