Living in a city like Chicago, I see a lot of people carrying bags for an extra pair of shoes, shopping purposes, or for whatever it is that they need the extra room that a bag will provide. I've seen people carrying everything from plastic bags, to shopping bags that are hardly stylish. So why not look put together? And for those of us who sew, it's really so very simple.
For those of you who live in America and live near a Joann's Fabric store, I was recently in the store and in my favorite section, the Home Dec department, when I came across these wonderful panels. The one that initially caught my eye had the simple treble cleft in the center.
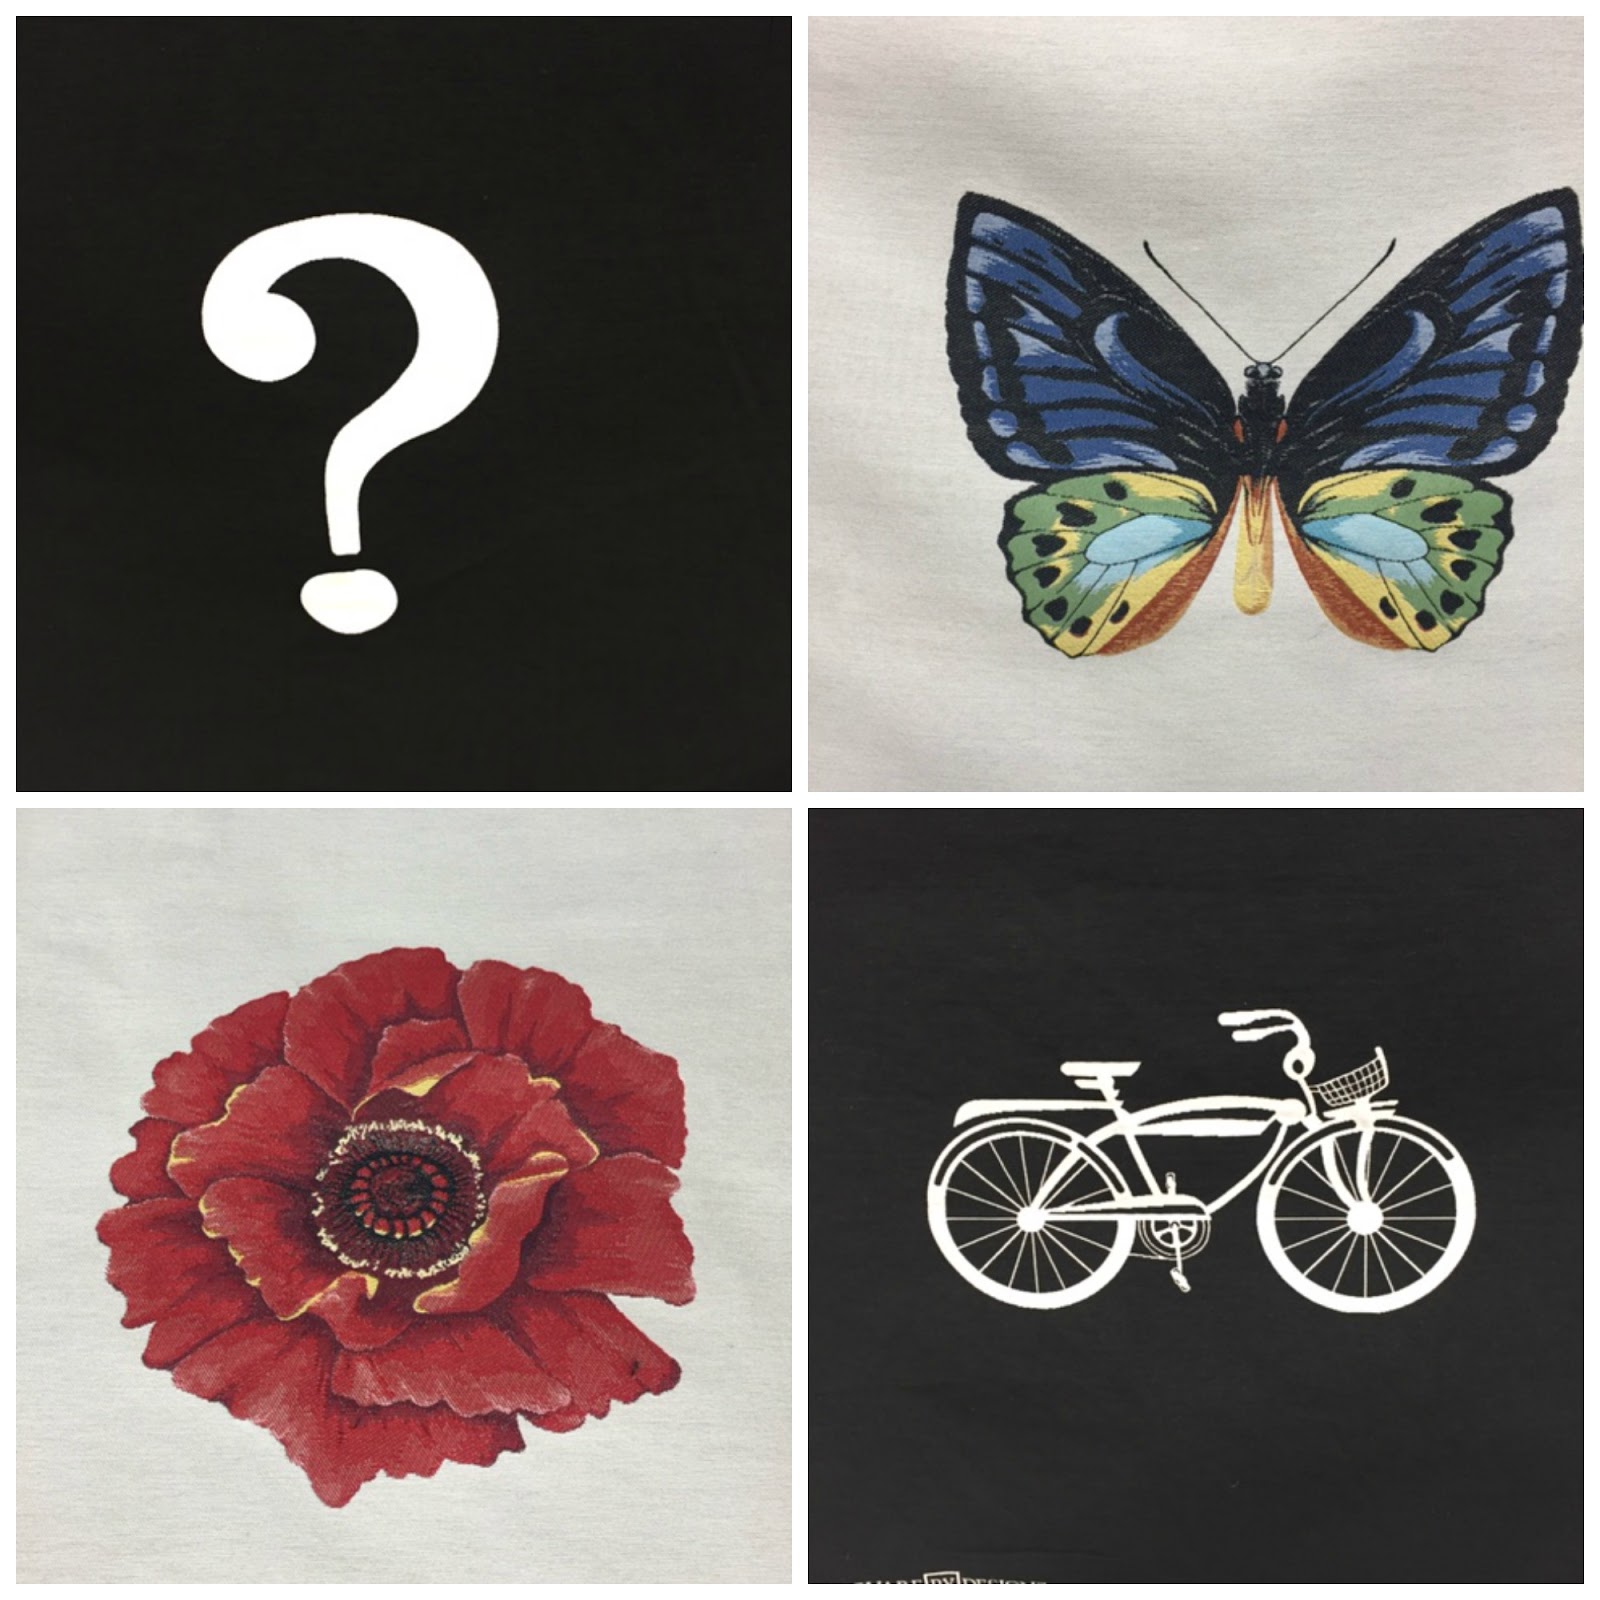
Here's a sample of some of the other designs that they have.
The panels measure 26 1/2" high x 25 1/2" wide, so they are fairly large. They are a home dec weight fabric.
When I saw the treble cleft, I immediately knew I wanted to make a tote bag.
To make the bag, you will need;
1 panel for the front
1 coordinating piece of fabric for the back, I recommend using another piece of home dec fabric.
Lining Fabric, I used quilting cotton
Fusible Fleece
1 set of handles
1 sew of purse feet
Chip board to create a hard bottom for the bag
I decided to cut down the panel as I felt that it was just a little too large for a tote bag. A better size is 18 1/2" wide x 20 1/2" long. This measurement includes seam allowance.
I simply folded the panel in half to insure that I kept the design in the middle of the panel.
Once the front panel is the desired size, use it to cut the back panel and the lining. You will need 2 lining pieces.
Fuse the fusible fleece to the lining pieces and sew the side seams together. Press open.
Now sew the bottom seam with a 1/4" seam allowance, leaving an opening for turning.
Clip the corners.
Pinch the side seam and the bottom seam together. From the point,
measure in 2" and mark with a pin.
Sew across the pinched in points.
Clip the points down to a 1/4" seam allowance.
Sew the side seams and the bottom seams of the panel and back fabric together just as you did the lining. The panel and back fabric will not be backed with fusible fleece and you will not leave an opening in the bottom for turning. Pinch in the corners and clip them just as you did the lining.
Everything I used for this bag came from my local chain fabric store, Joann's Fabrics. I found a great set of ready made handles that were just perfect.
To attach the handles to the bag, I cut 4 rectangles, 2 1/2" wide x 3 1/2" long. I used the fabric from the sides of my panels to create the rectangles.
I simply folded the rectangles in half,pressed, and then used the pressed line as a guideline. I then opened the rectangle and then folded each side to the middle.
Then I folded the 2 sides in on each other. At this point, edge stitch each side of the tabs.
Thread the tabs through the rings of the handles and then baste to the bag. My tabs are approximately 4" from either side of the bag. Set the bag aside.
For a little added security, I like to add a magnetic snap. Find the center of the lining and measure down 2" from the top. Use the backing to mark the placement of the snap. As you can see, I am marking the snap placement on the backside of the lining.
Snip the marks that were made and push the magnetic snap through. Push the prongs apart to secure.
The snaps are in place and we are ready to attach the lining to the bag.
Place the outer bag inside the lining, right sides together, and sew around the top with a 1/2" seam allowance.
Once the top seam is sewn, pull the outer bag through the opening in the bottom of the lining. Once the bag has been turned, push the lining inside the bag and stitch the bottom seam together.
To give the bag a more polished look, I decided to add purse feet.
Below, you can see inside my bag and see that the feet have been anchored through the outside fabric as well as the lining.
To cover the hardware for the feet and give the bottom of the bag a hard bottom, I cut a rectangle of chip board. Chip board can be found at an artist's supply store. Be sure to get the heaviest weight.
Once I had my chip board cut, I them made a sleeve from my lining fabric and slid the chip board into the sleeve and hand stitched the opening closed.
With the chip board panel in place, the inside has a finished look.
I'm all set to go!
And the bag looks just as lovely from the front as it does from the back. Much better than carrying a plastic bag ;)
Once I finished the bag, I realized that I forgot to add an interior pocket. It isn't necessary, but nice to have. If you would like to have a pocket, simply cut a square the size you would like the pocket to be and stitch it to the lining.
I can't wait to use my new bag!
A note to my family....
THIS ONE IS MINE!!!!


What a gorgeous bag! I must try one in the size you give. The ones I've been making seem a bit smaller. And what is it with family members snagging newly made tote bags? I've made so many, but I never seem to have one when I need it.
ReplyDeleteThis size I have found to be perfect for caring just about anything, extra shoes, even my knitting.
DeleteIt seems that I make something, someone comes by, admires it and it's out the door. Oh well :)
Cute bag! Thanks for the Joann tip. I enjoy butterflies so that panel may find its way home with me. These would make quick and easy gifts too.
ReplyDeleteA gift that anyone would appreciate :)
DeleteWow! You are so fast. You just purchased the fabric this adternoon.
ReplyDeleteI forgot.., the tote looks great.
ReplyDeleteGreat bag - and a very fine warning to family (and friends!). You deserve to keep this one Rhonda!
ReplyDeleteGreat looking bag! Thanks for posting such clear instructions :-)
ReplyDeleteThanks Patty :) I know that some who visit the blog are quite advanced. But some are just learning, so I really try to keep that in mind.
DeleteAdorable! I've been eyeing those panels in Joann's so now I will just have to decide which panel to get and catch their next 60% off day! Thanks for the great tutorial and inspiration, as always, Rhonda!
ReplyDeleteJulie, the panels are 50% off right now. I took advantage of the sale and then used a 60% off coupon for the handles. You can find a 60% off coupon this weekend on the Internet.
DeleteGorgeous! Our JAs, which I love, is a small one. I love these panels and will search them out on line as we have a very small home dec area. Thanks for the heads up.
ReplyDeleteBunny, if you find them on line, would you mind sending me a link? sewbussted@yahoo.com I tried to find them online, but didn't see them. I always like to make something like this available to as a many as possible.
DeleteRhonda, yes the panels are online, and at 50% off too.
ReplyDeletehttp://www.joann.com/search?q=Square%20By%20Design
Thank you so much!!! I will do a follow up post with the info.
DeleteThat is adorable, Rhonda!
ReplyDeleteThanks :)
DeleteSuper simple and very useful, perfect combination!
Great bag Rhonda! Thanks for the tutorial...I'll be saving this post.
ReplyDeleteGreat bag, and I had no idea Joann's had cute bag handles, nor bag feet. They must be in some section I never venture into, maybe near the jewelry making supplies?
ReplyDeleteThanks! In my store, they are in the aisle just beyond the buttons and ribbons, so pretty much near the back of the store. I'm one of those strange people that from time to time will walk the entire store just to see what I can see, or find.
Delete